Week 14: Composites
Assignment:
- Read the material safety data sheet (MSDS) and technical data sheet (TDS) for the resins that you're using.
- Design and make a 3D mould, and produce a fibre composite part in it.
For this assignment I tried to design a shelf with a cardboard structure folded with a fibreglass sheet and applying resin and catalyst.
Machines:
Software:
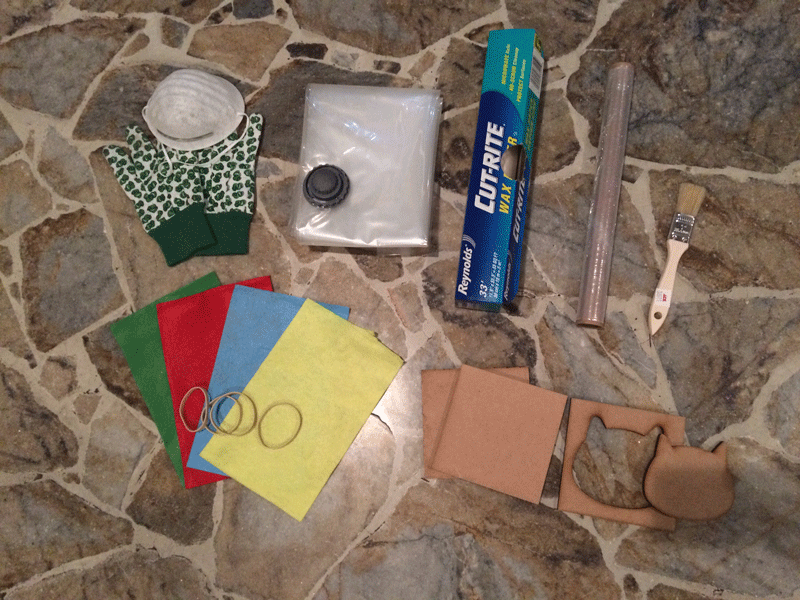
Materials:
- Cardboard sheets 3 mm
- Fibreglass sheets
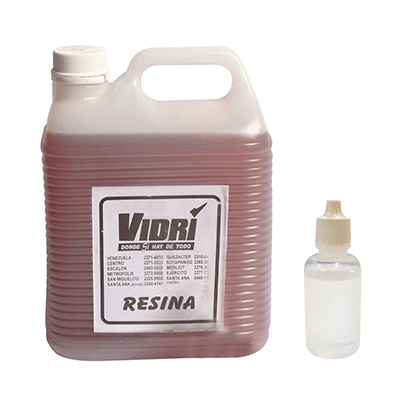
- Resin
- Catalyst
- MDF 5 mm
- Fabric pieces
- Wrapping film
- Wax paper
- Vacuum bag
- Rubber bands
First step was design the shelf in Rhino 5 and export the file to STL to be able to import it in 123D Make. The shelf measurements are 40 x 20 x 10 cm and I decided to use Curve as a construction technique, because I need an structure that I can fold later.
I distributed 10 slices in the 1st axis and 10 in curve with 45° notch angle to construct my shelf in order to have no pieces with construction issues, once finished, I got the plans and export the file to PDF.
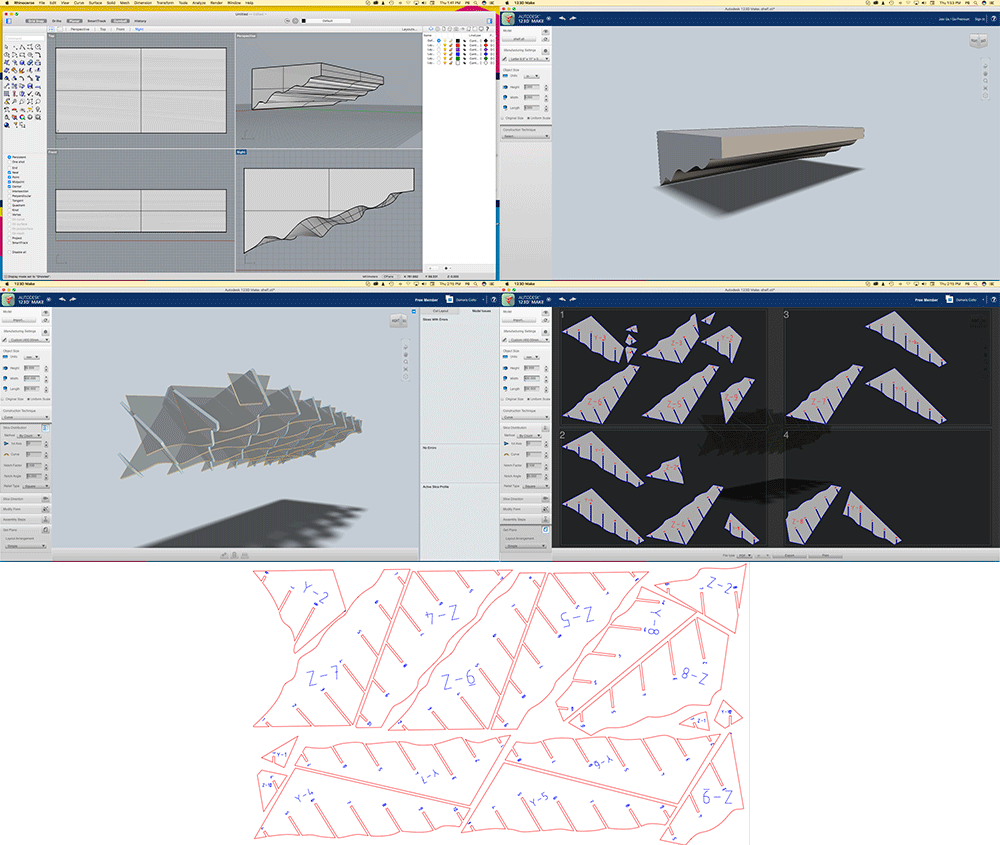
I opened the PDF file in Adobe Illustrator CC because I had to change the line colours to be able to cut the pieces in a Trotec Speedy 300 laser CO2 machine and to nest the pieces in two cardboard sheets instead of four.
To do that I used blue lines to mark the pieces numbers and red lines to cut the pieces in 3 mm cardboard sheets. Once I cut all the pieces I start to assembly the shelf. It was very easy because each one had identified the axe and the number, so I just follow the steps to finish.
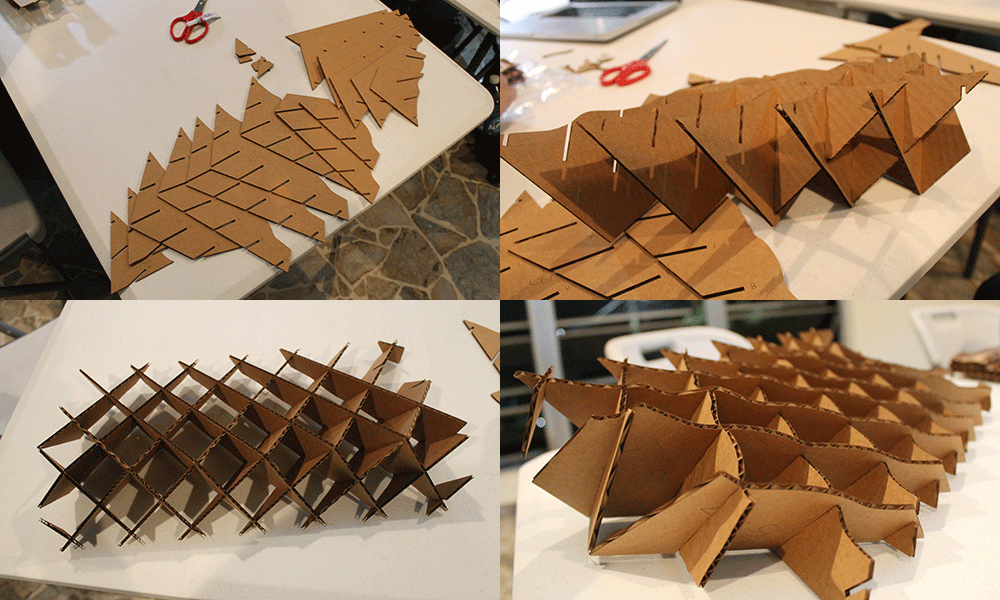
Finishing the assembly process I proceed to fold the structure with a fibreglass sheet.
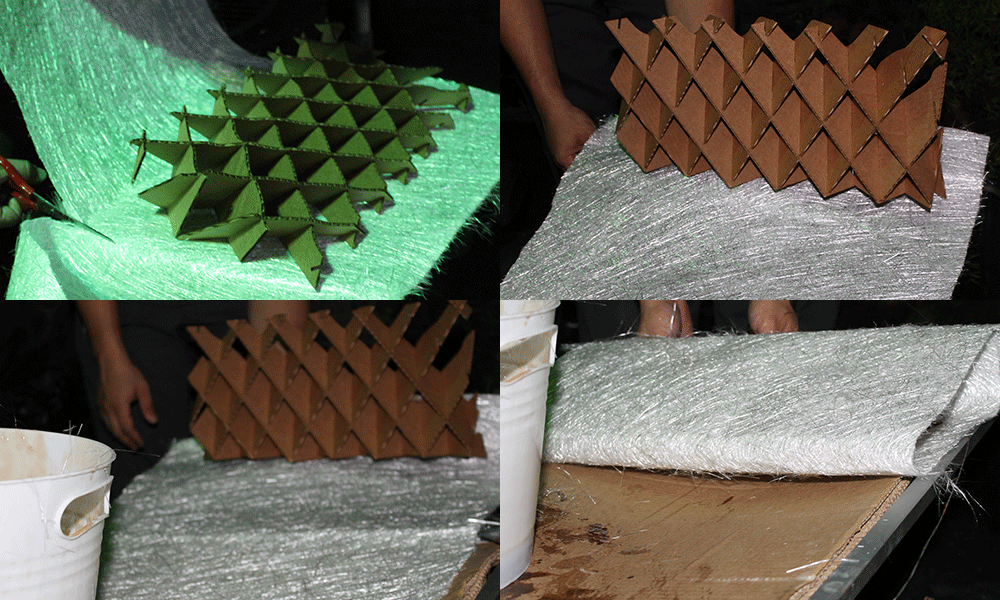
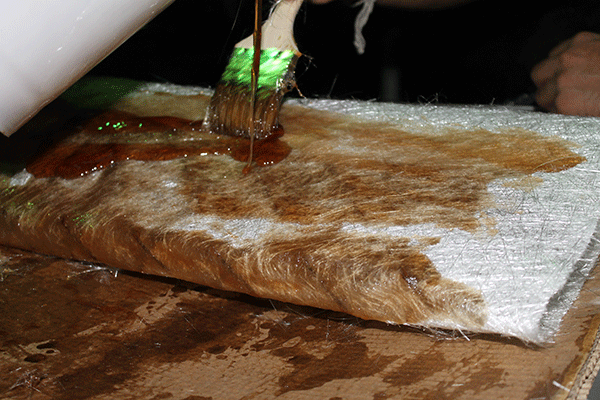
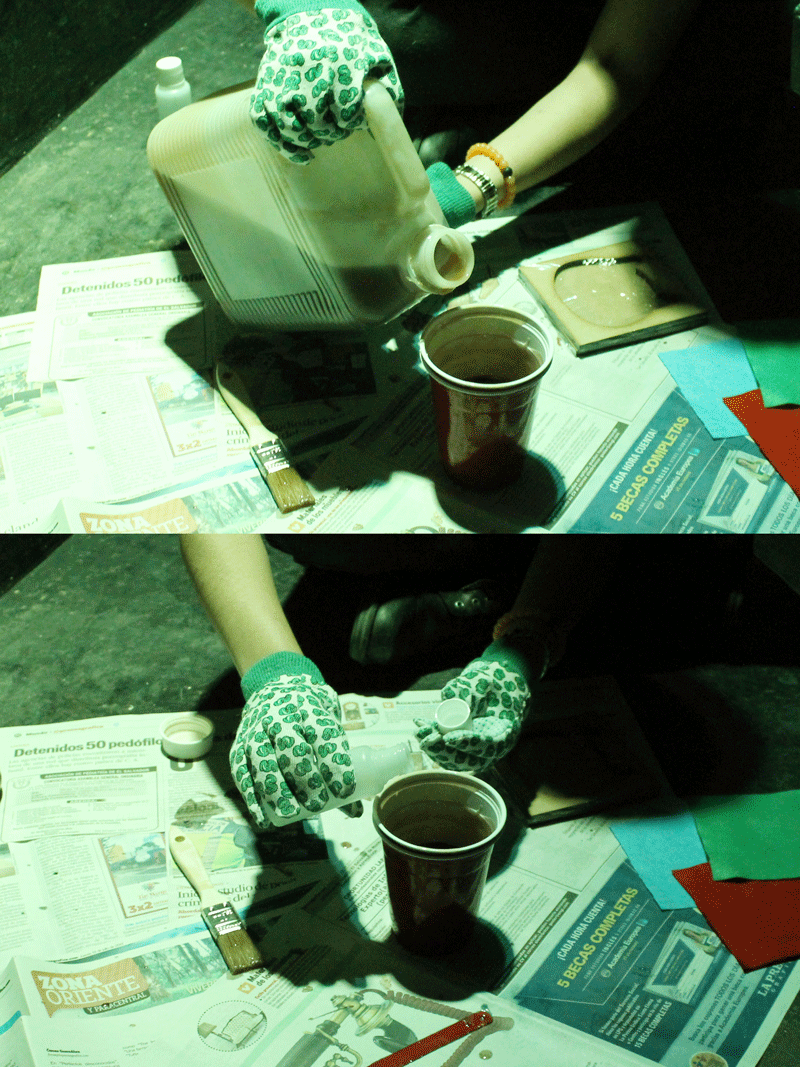
And then I applied the resin mixed with the catalyst. To do the mix I had to stir quarter bottle of resin and quarter bottle of catalyst. It was a little messy because the mix dries very quick.
 >
>
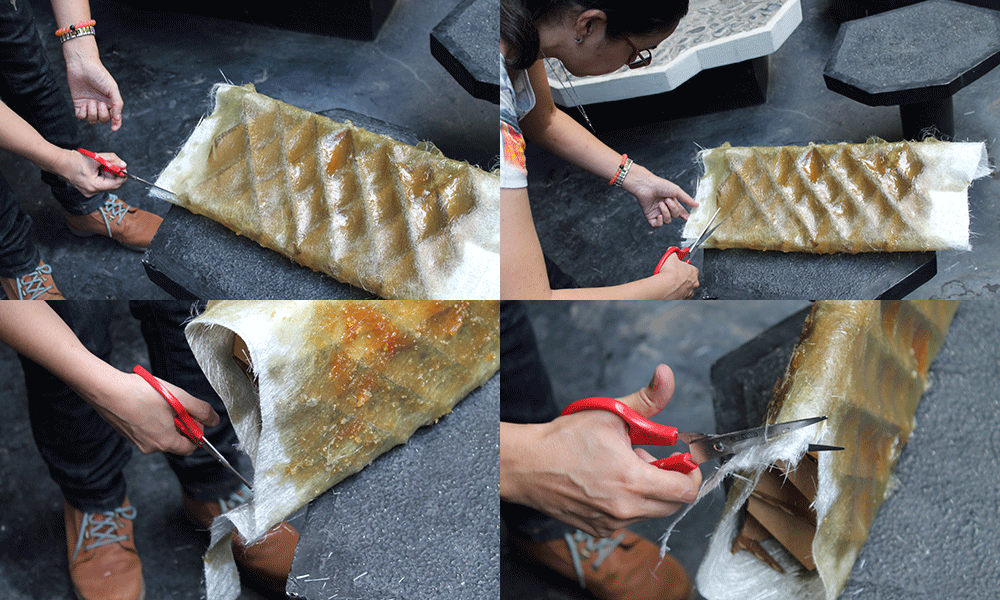
I let the resin rest during the night and then I had tu cut all the surplus fibreglass to try to get my shelf as neat as possible, but I couldn’t have the finishing I was looking for because it has lots of lumps. I’ll try to do it again.
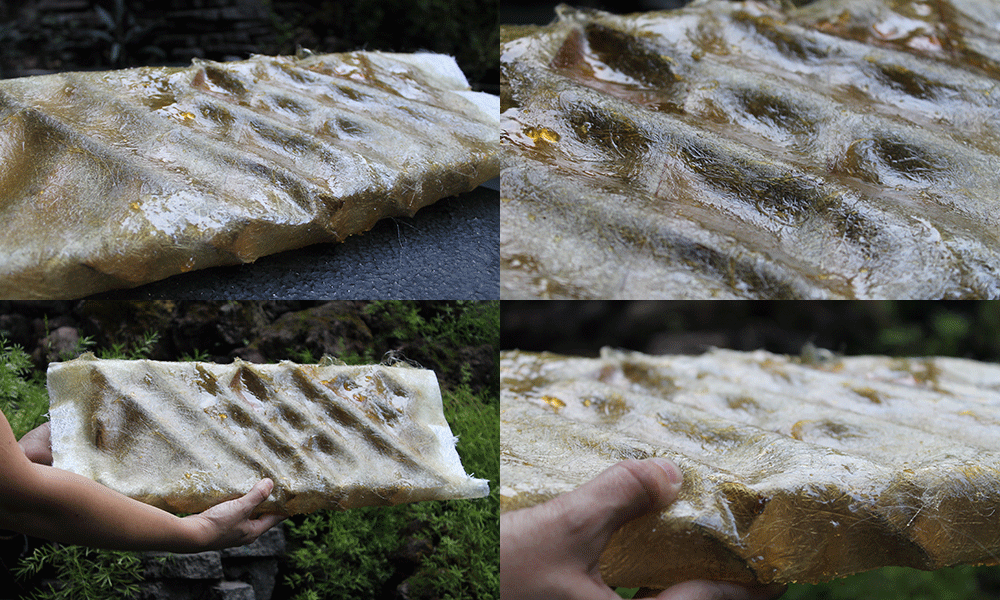
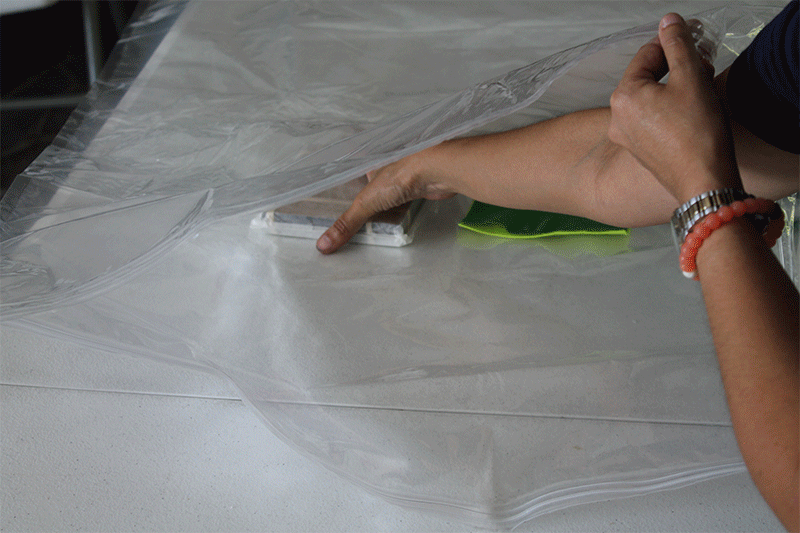
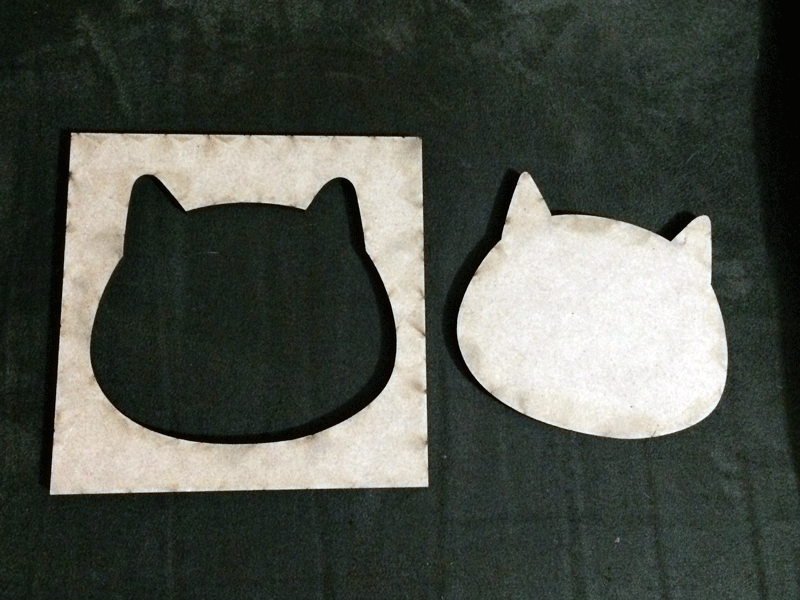
Because I did not get the results I expected, I repeated the process, but this time using fabric and a mould cut in MDF.
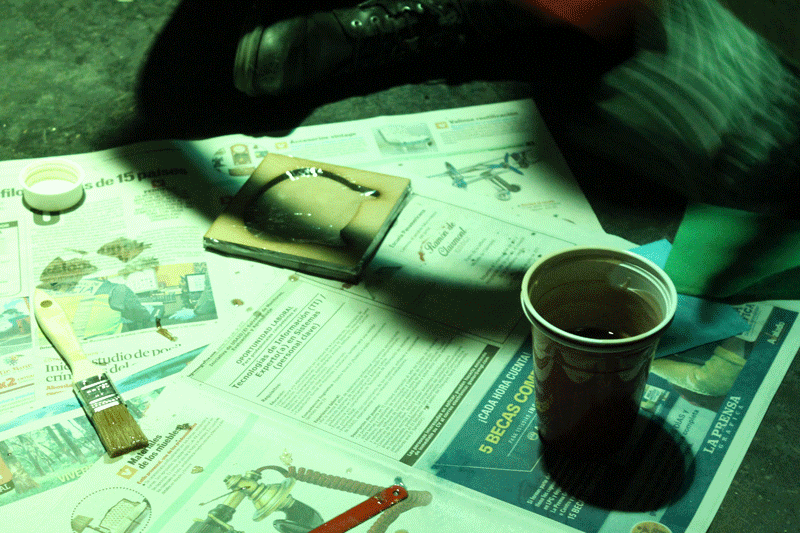
First I cut the designI made in 5 mm MDF and wrap it with plastic film to avoid the possibility of get the resin pasted in the shape.

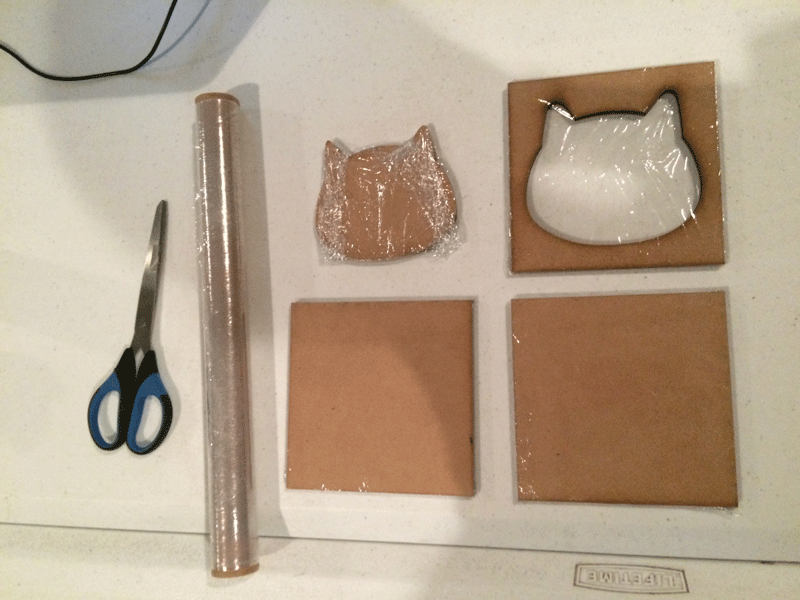
The resine mixture is the same as the first try. Once the mix was ready I placed one layer of fabric on the outside part of the mould and stir some resin on it brushing to cover all the area, then another piece of fabric and resin gain 3 times, when finished I placed the inside part of the mould and then I fix everything with one piece of MDF at front, another at back and rubber bands.
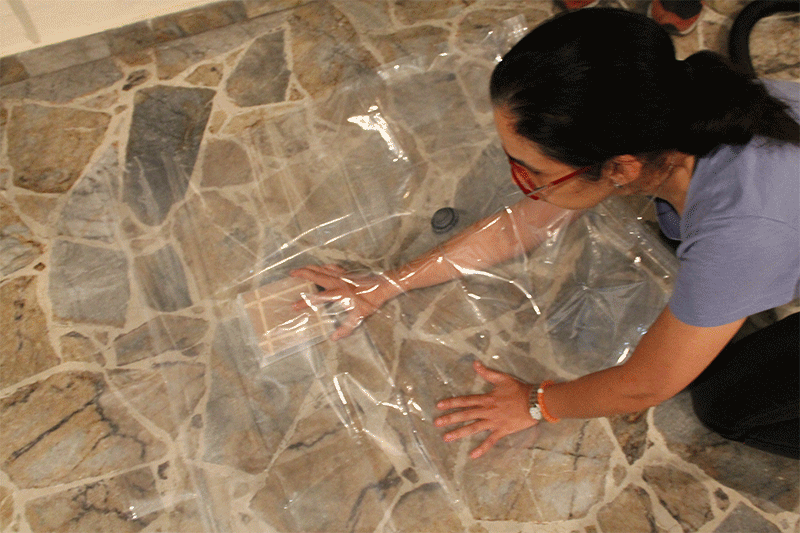
To press the composite I used a vacuum bag but first I wrap everything with wax paper because the resin may stick with the plastic bag. To avoid the chance of vacuum to not extract the air inside the bag, I placed a piece of fabric under the valve.
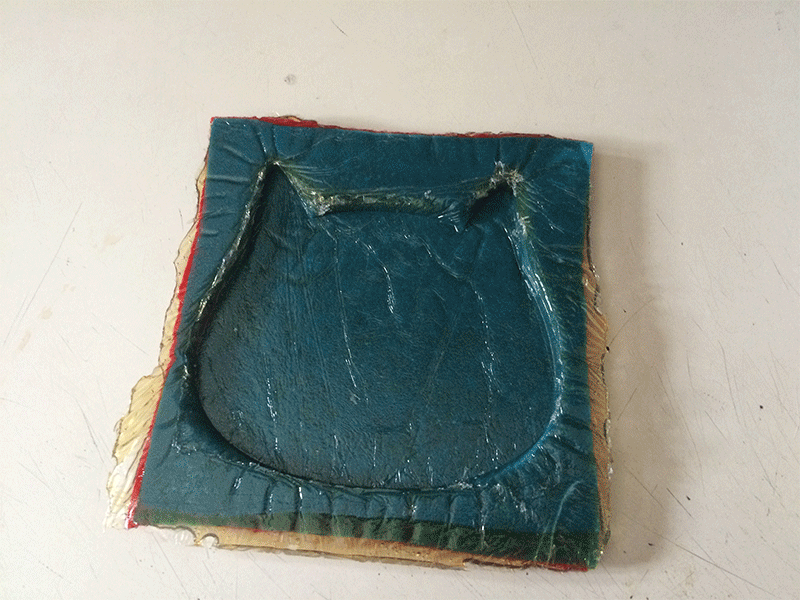
I let it cure overnight and this is the result: